måndag 22 april 2019

Steg-för-steg färgglad bakgrund!

Steg-för-steg färgglad bakgrund!
Step by step colourful background!

Till den här bakgrunden har jag använt stämplar och färg från Paperartsy, roller, vitt ark och en bit teflonväv.
To this background I have used stamps and paint from Paperartsy, brayer, white cardstock and a piece of a craft mat.
Ta upp färg från teflonarket med rollern och rolla ut på det vita arket.
Pick up paint from the craft mat with the brayer and roll it out on the cardstock.


 Gör likadant med nästa kulör.
Do the same thing with the next color.


Och nästa kulör.
And the next color.
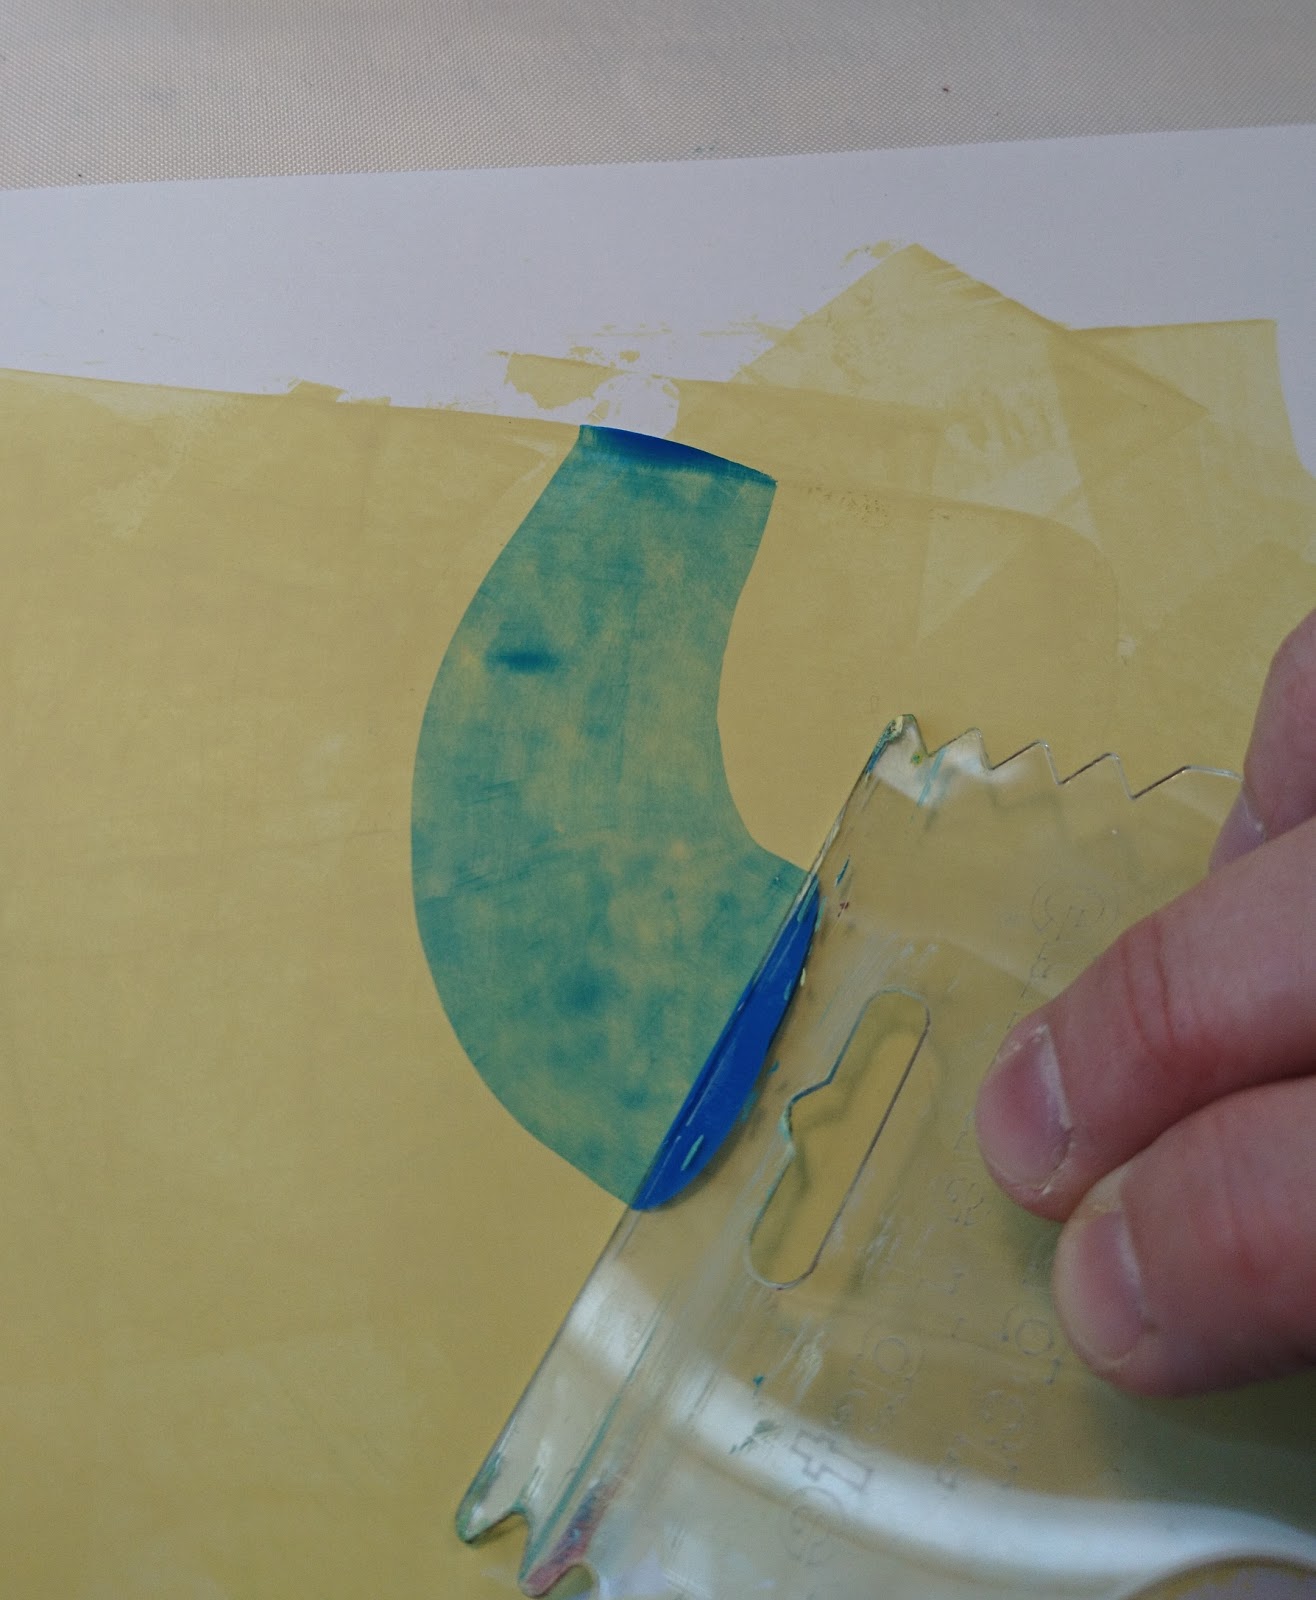
 Sen är det dags för stämpel nr ett.
Then it's time for stamp number one.


 När du stämplat över hela är det dags för nästa lager.
When you have stamped all over it's time for some more paint.


 Gör som med förra stämpeln med nästa motiv.
Do as the previous stamp with the next stamp.


 Och ett lager färg över det.
And another layer of paint over it.

 Och din bakgrund är klar!
And your background is done!

 Här är två kort jag gjort med bakgrunden:
Here are two cards I have made with the background:


Produkter som använts till den här bakgrunden:
Products used for this background:

måndag 15 april 2019

Steg-för-stegbilder Studentbakgrund

Här kommer, som lovat, steg-för-stegbilder på bakgrunden till studentkortet!
Here are the step by step pictures of the background to the graduation card! 

Jag har använt färg från Paperartsy, roller, vitt pappersark, stämpel och en spatel. Som spatel kan du även använda ett gammalt betalkort i plast. Jag har en bit teflonväv som palett till färgen.
I have used paint from Paperartsy, brayer, white cardstock, stamp and a spatula. You can use an old credit card as a spatula. I have a piece of a craft mat for the paint. 
 Klicka ut lite färg på teflonväven och hämta upp lite färg med spateln/kortet.
Put some paint on the craft mat and pick up som paint with the spatula/card.
 Bred ut färgen på arket med spateln/kortet.
Spread the paint on the cardstock with the spatula/card.
 Gör likadant med nästa kulör.
Do the same with the next color.
 Fortsätt med lager på lager tills du är nöjd.
Put layer on layer until you think it's fine.
 Bred ut färgen med rollern så pass stort så att stämpeln får plats.
Spread the paint with the brayer so the stamp can fit.
 Använd ytan med färg som en stämpeldyna och tryck stämpeln mot färgen några gånger så att stämpeln får färg över hela ytan.
Use the surface with paint as a stamp pad and push the stamp to it until the whole stamp is covered with paint.
 Stämpla på din färglagda yta och hämta mer färg till stämpeln så som innan och stämpla tills hela ytan är fylld med text.
Stamp on the painted surface and pick up more paint as before and stamp until the whole surface is full of text.
 Nu är bakgrunden klar!
Now the background is finished!
 För lite mer liv i bakgrunden kan du rolla lite vit färg försiktigt över ytan ett par gånger.
If you want the background to have more texture you can gently put som paint over it with the brayer.
 Och så här såg mitt kort ut med den här bakgrunden!
And this is how my card looks with the background!
Produkter som använts till den här bakgrunden:
Products used for this background: